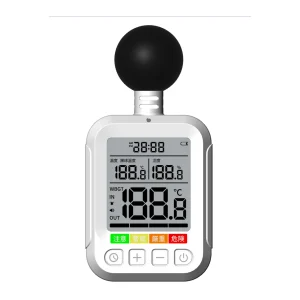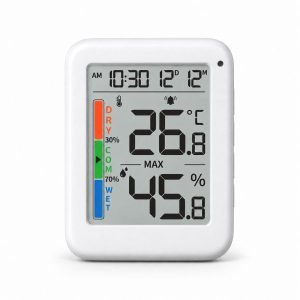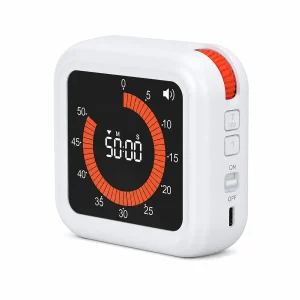
Optimizing the Custom Digital Clock Bill of Materials (BOM) for Your Private Label Electronics Brand
Why Custom Digital Clock BOM Decisions Determine Your Private Label’s First-Year Return Rate
Most custom digital clock returns don’t happen because of a cosmetic scratch on the plastic housing. They happen on the circuit board, usually because of a cheap, unbranded display driver IC that couldn’t handle the heat. It is common for procurement teams to spend weeks arguing over SPI-B1 matte finishes versus high-gloss bezels, completely ignoring the cheap display driver silicon hidden behind the glass. When these low-grade ICs run hot under constant power, the display segments drop or freeze. This cosmetic imbalance—demanding premium exterior styling while accepting cheap, unverified silicon with poor thermal limits—is the single largest driver of field issues. That thermal breakdown is what drives up your Year Return Rate First-hand, turning a promising retail launch into an operations headache.
The engineering challenge gets tougher when you choose a high-contrast Vertical Alignment LCD over a standard Twisted Nematic display. The Vertical Alignment screen looks far sharper, but it requires much higher backlight drive currents to achieve decent brightness. If the factory uses cheap LEDs without strict binning or skimps on the diffusion films, the backlight module will degrade quickly. You get visible dark spots and patchy, uneven lighting in under 500 hours of continuous use. The resulting failures trigger a flood of Return Merchandise Authorizations. This is where YGhao’s engineering team intervenes during the initial CAD and Gerber reviews. We analyze how the thermal load of the driver IC dissipates through the PCB copper and make sure the housing design has enough ventilation for passive cooling before we cut any tooling steel.
To prevent these failures, you have to lock down the physical limits early in the design phase. This means specifying exact draft angles, nominal wall thicknesses, and target light-transmittance percentages right alongside your electronic BOM. Relying on an industrial designer’s high-fidelity render files without mapping the physical limits of mass injection molding and thermal dissipation will lead to field failures. Before signing off on your next custom digital clock layout, ask the supplier to provide the driver IC’s operating temperature datasheet under maximum backlight load.
Housing Textures vs. Backlit LCD Lifespan: The Technical and Cost Trade-offs
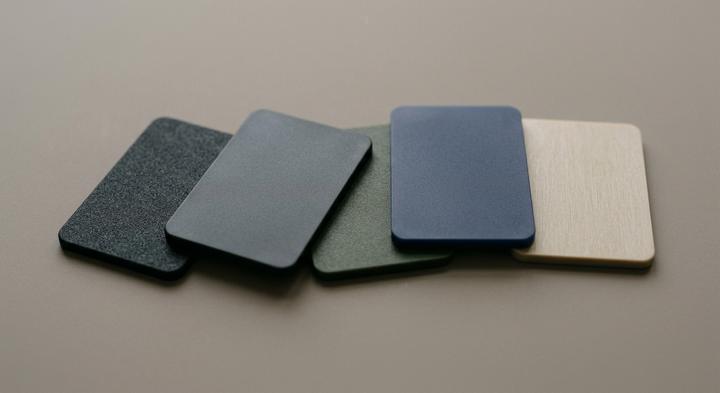
Selecting the right housing texture directly impacts both physical durability and tactile quality.
Why do custom digital clock housings crack or displays dim prematurely in the field?
The breakdown usually starts where mechanical stress meets localized thermal build-up. If a buyer prioritizes cosmetics or raw unit cost without mapping how the plastic resin behaves around hot LED backlights and voltage regulators, the assembly is on a clock. Balancing these structural choices against the optoelectronic driver current determines whether a private-label unit lasts past its warranty.
| Buyer Type | Key Decision Factors | Display Fit | Primary Technical Risks | Procurement Verdict |
|---|---|---|---|---|
| Industrial & Medical | High impact strength, 24/7 uptime, UV and thermal stability. | PC/ABS housing; chemically etched MT-11010 texture; VA LCD with heavy diffusion. | Internal boss stress-cracking; diffuser sheet warping near internal power regulators. | Specify PC/ABS; add physical heat shields between the power board and optical stack. |
| Smart Home | Tactile feel, minimal battery draw, tight seam tolerances. | Fine matte ABS (no rubber oil spray); TN LCD with low-current (<15mA) LED backlighting. | Polyurethane spray peeling in high humidity; excessive battery drain if LEDs are driven too hard. | Skip sprayed-on soft coatings; adjust polarizer angles to protect daylight visibility at low currents. |
| Volume Retail | Lowest unit BOM, rapid injection molding cycle times. | Raw ABS shell with high-gloss finish; standard TN LCD panel with commercial polarizers. | Thin walls (<2.0mm) causing backlight bleed-through; brittle boss fractures under pneumatic torque. | Enforce 2.0mm wall minimums; run draft-angle mold flow analysis before cutting steel. |
Balancing Materials and Heat Management on the Factory Floor
When evaluating the Cost Trade, choosing 100% raw ABS instead of a PC/ABS blend drops resin costs by about 15%, but it compromises Physical Durability To save pennies on the housing. The Technical evaluation shows that standard assembly lines using pneumatic screwdrivers will stress-crack raw ABS bosses. Housing Textures are equally prone to failure; while sprayed rubber oil feels premium initially, it degrades in transit. For reliable B2B performance, specify physical tool-textured molds and maintain a 2.0mm nominal wall thickness to protect the internal components.
Matching Custom Digital Clock Specs to Your Retail Pricing: Two Procurement Scenarios
Staring at a 6 AM extrusion sheet on a noisy factory floor in Dongguan makes one thing obvious: if the bill of materials isn’t locked to the target shelf price before tooling begins, the brand is already losing money. Executing a thorough Two Procurement Scenarios Checking exercise helps isolate exactly where unit cost and mechanical quality diverge. For a Matching Custom Digital Clock project, aligning component choices directly with Your Retail Pricing prevents the post-tooling panic of trying to shave off pennies from an over-engineered board.
Scenario A: High-End Smart Appliance Displays
When engineering premium hardware, the display must survive bright kitchen lights and wide-angle viewing without looking washed out. These demanding builds are best classified as End Smart Appliance Displays. For these, sourcing teams specify custom vertical alignment (VA) glass with high-contrast white LED backlighting and high-grade PMMA display lenses to avoid the fuzzy diffraction seen on cheaper panels. The housing features an MT-11011 texture molded directly into the ABS tool, which avoids the peeling problems of sprayed-on rubber finishes, while the electronics run on a double-sided FR-4 PCB to eliminate high-frequency cross-talk. To make the interface feel mechanical and premium, buttons are specified with a 250g actuation force micro-switch, keeping travel down to a tight 0.3mm with a 0.05mm tolerance to guarantee a crisp tactile click. When setting up prototype runs with YGhao, the sampling protocol requires ordering a dual-track sample set—one with the full-spec PMMA lens and one with a slightly thinner acrylic sheet—so the team can verify where the visual performance justifies the bill-of-materials cost before committing to hard steel.
Scenario B: High-Volume Promotional Clock Runs
Conversely, Volume Promotional Clock Runs target a retail floor price where fractions of a cent dictate profitability. For these high-volume campaigns, standard twisted nematic (TN) displays offer sufficient legibility at a fraction of the cost of VA glass, especially when paired with simple unpainted matte ABS housings that skip cosmetic secondary coatings. The engineering team controls unit cost by selecting single-sided CEM-1 PCBs instead of FR-4, and optimizing multi-cavity tooling layouts to maximize daily output from a single injection cycle. Tactile components here use a softer 160g actuation force rating with wider button travel tolerances because a loose, low-force press is acceptable for a giveaway or a budget bedside unit. To keep this low-cost pathway on track, procurement must instruct YGhao to run prototypes with these exact, lower-grade substrates and basic micro-switches first, ensuring the physical samples match the target FOB price threshold before any tooling deposits are paid.
A good rule of thumb: never let your industrial designer spec a premium glass lens until you’ve verified whether the target retail price can support the structural double-sided PCB underneath it.
Four Critical BOM Mistakes That Trigger High Return Rates on Private-Label Clocks
For private-label clocks, four engineering oversights at the drawing board dictate whether a custom digital clock survives the retail shelf or ends up as an RMA statistic. Sourcing managers often focus on outer cosmetics, ignoring the micro-level mechanical and optical specifications that actually prevent warranty claims. Leaving these details to unvetted assembly plants guarantees field failures like yellowed housings, dead backlights, and stuck buttons. Protecting your margins means writing these physical performance parameters directly into your BOM before tooling begins.
White plastic is stable enough for indoor environments without expensive chemical additives.
Skipping UV-9 stabilizing masterbatches in white ABS housings is a fast track to retail rejection. Without a minimum 1.5% to 2.0% UV-stabilizer additive, indoor fluorescent lights or window exposure turns white casings yellow in less than 90 days. Procurement must write this specific masterbatch percentage into the component datasheet rather than accepting a generic “white ABS” claim. At YGhao, we verify the masterbatch dosing on every batch to protect long-term casing aesthetics.
Overdriving LEDs is a harmless way to make a dim display look sharper.
Running backlight diodes past their standard 20mA limit to force light through cheap, low-transmittance diffuser sheets destroys display lumen output within six months. This shortcut hides cheap internal optics on the golden-sample inspection table but creates excessive heat that rapidly degrades the LEDs. Specify high-transmittance PMMA diffuser panels paired with LEDs restricted to a conservative 15mA to 18mA drive current to keep the display legible for years.
Tight plastic tooling tolerances are enough to prevent internal backlight bleed.
Omitting die-cut EVA foam gaskets around the LCD bezel always results in distracting light leakage at the outer casing seams. Tooling tolerances are never perfect in mass production; without a physical, compressible barrier, the backlight will seep through parting lines. Specifying a 0.5mm compressible EVA gasket layer isolates the light guide plate assembly, completely blocking light bleed.
How to Audit a Custom Digital Clock Factory: Testing Logs and Physical Evidence to Demand
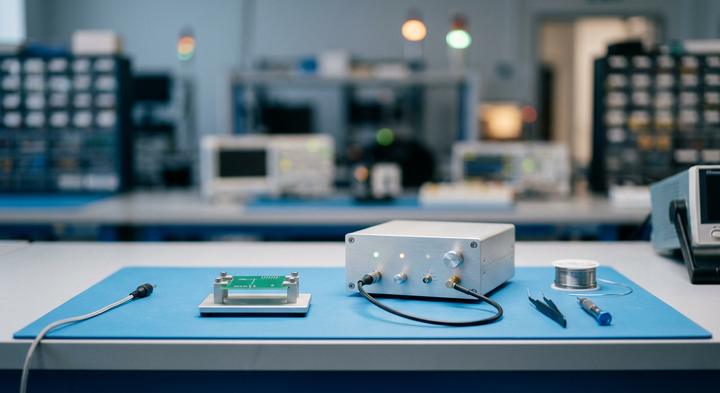
A disciplined quality control testing setup is essential for verifying long-term electronic component performance.
How do you run a physical QC audit on a Custom Digital Clock Factory?
You don’t do it by looking at signed routing cards. Anyone who has spent time on an assembly floor knows how easy it is to stamp a “Passed” box on a checklist without ever powering up the unit. To verify that the manufacturer actually runs these checks, you must demand the raw, machine-generated Testing Logs and inspect the Physical Evidence on the machinery. When you sit down with a supplier, do not just ask if they run checks; instead, Demand How they preserve raw sensor outputs.
This shift in audit strategy forces transparency. A factory rep can easily fake a signature, but fabricating raw spectral logs or editing chamber step-graphs takes real effort. During a physical walk-through, look past the clean desk in the QA office. Walk straight to the testing bays, check calibration stickers on the machinery, and verify that the active test files match the serial numbers of the current production batch.
| Ask | Expected evidence | Red flag | Responsible party |
|---|---|---|---|
| Optical Compliance | Original, machine-timestamped PDF/CSV spectral logs from an integrating sphere and spectrophotometer showing exact x, y chromaticity coordinates and luminous intensity (nits/cd/m²) matching the approved LED backlight spec. | Excel tables with manually typed numbers, missing raw machine data source fields, or logs dated before the current production run. | Lead Optoelectronics Engineer |
| Housing Durability | Cross-hatch adhesion reports (ISO 2409 Class 0/1) using standard 1mm or 2mm multi-tooth cutters, and RCA tape wear logs showing a minimum of 200 cycles under a 175g load using certified paper tape. | A supplier claiming “scratch-resistant matte tooling” but lacking a physical RCA abrasion tester or ISO cutters on the active QC floor. | Mechanical Lead |
| Environmental Reliability | Automated step-graphs from a 48-hour thermal shock chamber run (cycling between -20°C and 60°C with ramp transitions greater than 10°C/min starting from an ambient 20°C baseline) and UV aging logs tracking yellowing index delta-E. | Generic “Pass” certificates lacking real-time chamber temperature sensor plots, or tests showing zero delta-E shift after simulated UV exposure. | Reliability Lab Manager |
| Cleanroom & ESD Control | Calibrated particle counter logs for the optical bonding zone (ISO Class 7/8 cleanroom) and continuous ESD ground resistance monitoring records (<10^6 ohms) for workstations. | Operators wearing ungrounded coil-straps, non-functional ESD monitors showing green bypass overrides, or cleanroom air showers switched off to reduce power. | Factory Floor Supervisor |
Streamlining Mass Production: YGhao’s Custom Tooling and SMT Capabilities
Matching your custom digital clock specs to a retail target price looks great on a spreadsheet, but the physical reality of high-volume manufacturing hits the moment those paper plans meet real steel molds and surface-mount lines. Sourcing your clock components from fragmented vendors is the fastest way to guarantee mechanical misalignments. If the plastic housing is molded by one supplier and the PCBA is stuffed by another, even a tiny 0.1 mm error in bezel wall thickness or screw-boss height can twist the board just enough to disrupt the zebra strip elastomeric connector. The result is dropped LCD segments or uneven backlight bleeding that you only discover after assembly. Managing both high-speed SMT assembly and custom injection molding under one roof eliminates these integration gaps. Having integrated SMT and molding lines shortens the physical validation loop. Our typical schedule runs from initial CAD validation in 3 days and rapid CNC functional prototypes in 5 days, to T1 steel tooling trials in 28 days and final mass assembly of a 10,000-unit batch in 20 days.
To make sure these clocks don’t fail the moment they sit in a cold warehouse or a humid shipping container, we run a 100% infant mortality screen on finished assemblies. Instead of random batch sampling, every single clock runs through an 8-hour continuous burn-in cycle inside a heat chamber set to 45°C. This thermal stress forces marginal solder joints, micro-cracks in wire bonding, and weak display driver ICs to fail on our floor, not in your customer’s hands. We achieve this by integrating our Custom Tooling and SMT Capabilities While maintaining strict quality control over every batch. If you want to move past 3D renders and see how this works on your next custom digital clock run, send your 3D STEP files or backlight specifications directly to our engineering desk for an itemized Bill of Materials (BOM) review and a tooling analysis to show you exactly where the tolerance risks lie before you cut steel.