Branding Your Custom Digital Clock: A Guide to Private-Label OEM Production
Beyond the Logo: Engineering Your Brand into the Clock
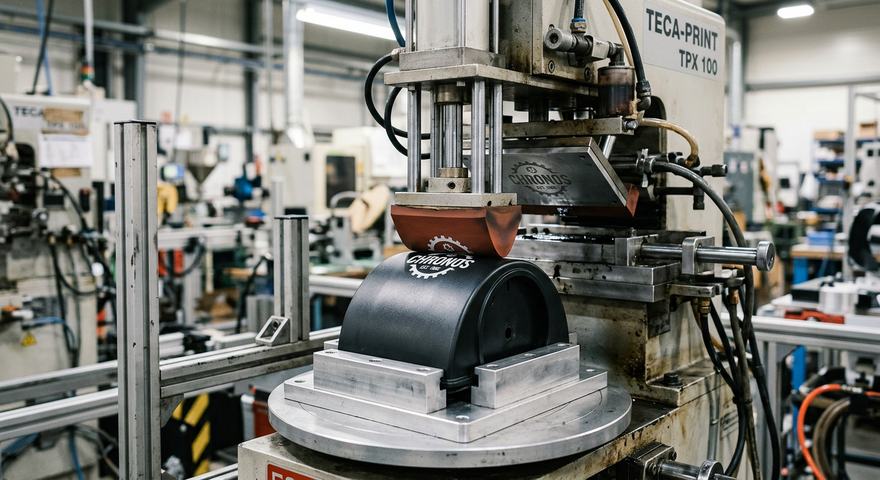
Pad printing requires precise artwork distortion to account for the curvature of the clock housing.
Most procurement teams treat the logo as the final aesthetic touch on a custom digital clock, but the factory sees it as a mechanical failure point. If you send a vector file without accounting for the housing’s specific curvature or material, you aren’t just risking a bad print—you’re risking a batch that looks like a prototype. Pad printing on curved plastic requires the artwork to be pre-distorted to compensate for the pad’s deformation; if the engineer doesn’t adjust the plate for that stretch, your logo will look warped the moment it hits the housing.
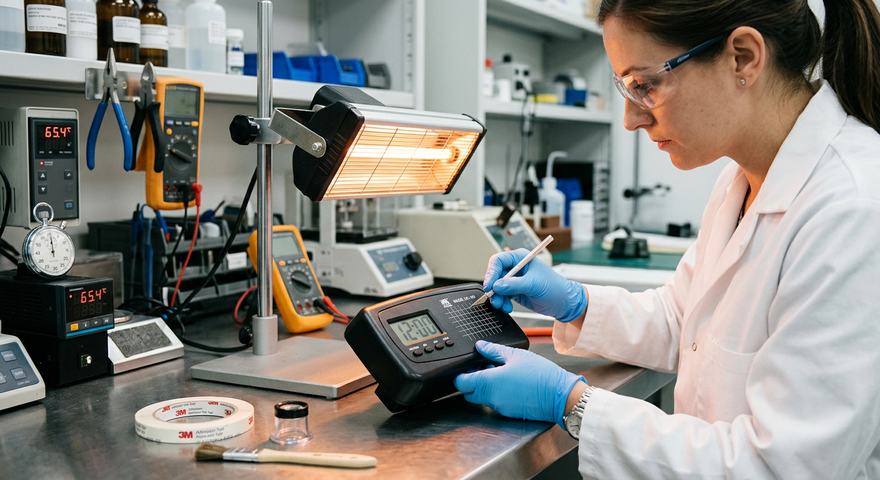
Testing ink adhesion under heat cycles is critical to ensure the branding survives long-term use.
Material compatibility is where most bulk orders hit a wall. Screen printing is cost-effective for flat, simple surfaces, but it rarely holds up on the textured ABS or silicone housings common in modern industrial clocks. If the ink doesn’t bond correctly, it will flake off as the housing expands from the heat of the internal LED display. Laser etching is the only way to guarantee a permanent mark that survives years of desk use, though it adds cost and requires a different tooling setup. If your supplier isn’t asking about the housing’s finish or the expected operating temperature, they are likely just running your file through a standard process and hoping for the best.
Engineering Your Brand means treating the print as a structural component. When we review a new project at YGhao, we look at the Clock When—the specific moment the housing comes off the mold—to determine if the surface is too oily or too hot for the ink to cure properly. Don’t just approve the digital proof. Ask the factory for a sample run on the actual production material, not a test card, and check the adhesion after a 24-hour heat cycle. If they can’t provide that data, you’re essentially paying for a logo that will peel off in the first quarter.
Branding Methods: Cost, MOQ, and Production Trade-offs
Which branding method actually survives a three-year product lifecycle in an industrial environment?
Most buyers default to pad printing because it is cheap, but they often ignore the fact that industrial environments—with fluctuating temperatures and cleaning chemicals—can strip a pad-printed logo in months. If you are ordering a custom digital clock for a warehouse or a high-traffic office, the branding method must be as durable as the internal components.
| Method | Typical MOQ | Tooling/Setup | Lead Time Impact | Primary Risk |
|---|---|---|---|---|
| Pad Printing | 500+ | Low | 2 days | Solvent sensitivity / peeling |
| Laser Etching | 1,000+ | Moderate | 5 days | Material discoloration / depth limits |
| Custom Molding | 5,000+ | High | 45 days | High upfront cost / design lock-in |
Pad printing is the standard for low-volume runs, but it relies entirely on surface tension. If the factory skips the primer or uses a low-surface-energy plastic like PP, the logo will fail a standard tape test within weeks. Laser etching is more robust, but it requires a material that can handle the thermal stress; otherwise, you end up with a ‘burnt’ look around the edges of your logo.
Custom injection molding is the only way to achieve a truly permanent, integrated look, but it is a commitment. You are paying for the mold steel, which means any design change later requires a new tool. If you are not hitting the 5,000-unit threshold, the amortization cost per unit will likely kill your margins. Before you sign off on a branding method, ask the supplier for a sample on the actual production-grade plastic, not a test card. If they refuse, they are likely using a lower-grade resin that won’t hold the finish long-term.
Right Path When Choosing
Ignore the unit price and focus on the tooling depreciation; a cheap logo that requires a re-run after six months is always more expensive than a permanent etch.
Common Production Pitfalls: What Actually Goes Wrong
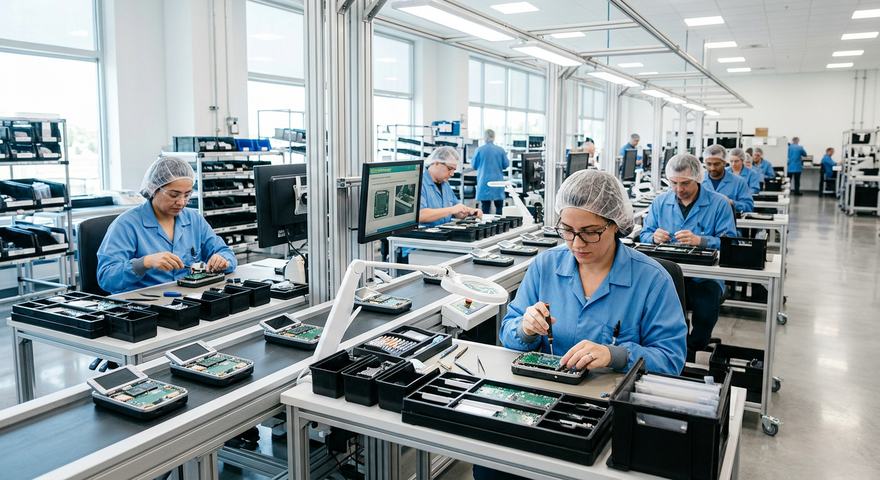
Maintaining precision during scale production is the difference between a prototype and a market-ready product.
Custom digital clock projects look clean on a CAD render, but the hard part is keeping that precision when the line starts running at scale.
Take the ‘Color Drift’ trap. A brand manager might approve a Pantone shade based on a screen render, only to find the production chassis looks muted or muddy. This happens because the base resin’s natural texture absorbs light differently than the digital proof. If you don’t demand a physical color-match sample on the actual production-grade plastic, you are betting your brand identity on a screen that doesn’t exist in the factory. The mistake is treating a Pantone code as a universal constant rather than a variable dependent on the substrate.
The Compliance and Tactile Trap
Then there is the ‘Compliance Gap.’ A distributor might assume the factory’s ‘standard’ export template covers their destination, only to have a full shipment seized at customs because the CE or FCC markings were missing or incorrectly sized for the back panel. It is a four-hour paperwork nightmare that happens because the buyer didn’t verify the specific regulatory requirements for their port of entry before the final print run.
Finally, watch the tactile feedback. We often see prototypes that click perfectly, only for the final units to feel mushy. This usually happens when the factory applies a protective housing finish or a thick coating that increases the button travel distance. If you don’t test the button feel on a unit that has gone through the full finishing process, you won’t know it’s broken until the inventory is already in your warehouse.
Is your supplier ready to provide the technical documentation and material samples required to clear your target market’s customs, or are you waiting for the first shipment to find out?
Finalizing Your OEM Project with YGhao
How do you stop a production line from stalling once the deposit is paid? Most buyers think the contract is the safety net, but the real risk is in the technical proofing. If your artwork doesn’t account for the specific mold draft or the way ink cures on your chosen resin, you aren’t just looking at a bad print—you’re looking at a batch that won’t pass QC.
Don’t just sign off on a PDF. A factory that knows its business will push back on your bleed settings or color profiles if they don’t match the reality of their machines. If they just say ‘yes’ to every file you send, they are setting you up for a failure at the final inspection. Before you give the green light, you need to see the Material Mapping for the housing and ensure the ink adhesion is tested on the actual production-grade plastic, not a generic test card.
Request a Production Sample that has been through a 24-hour heat cycle. If the branding cracks or peels under temperature, you need to know now, not after the shipment hits your warehouse. Simultaneously, have your Compliance Documentation ready. Customs officers in the EU or US will pull your shipment if the CE, FCC, or RoHS certificates don’t align perfectly with the model number on the unit. If the paperwork doesn’t match the hardware, the shipment sits in a port terminal while you pay daily storage fees.